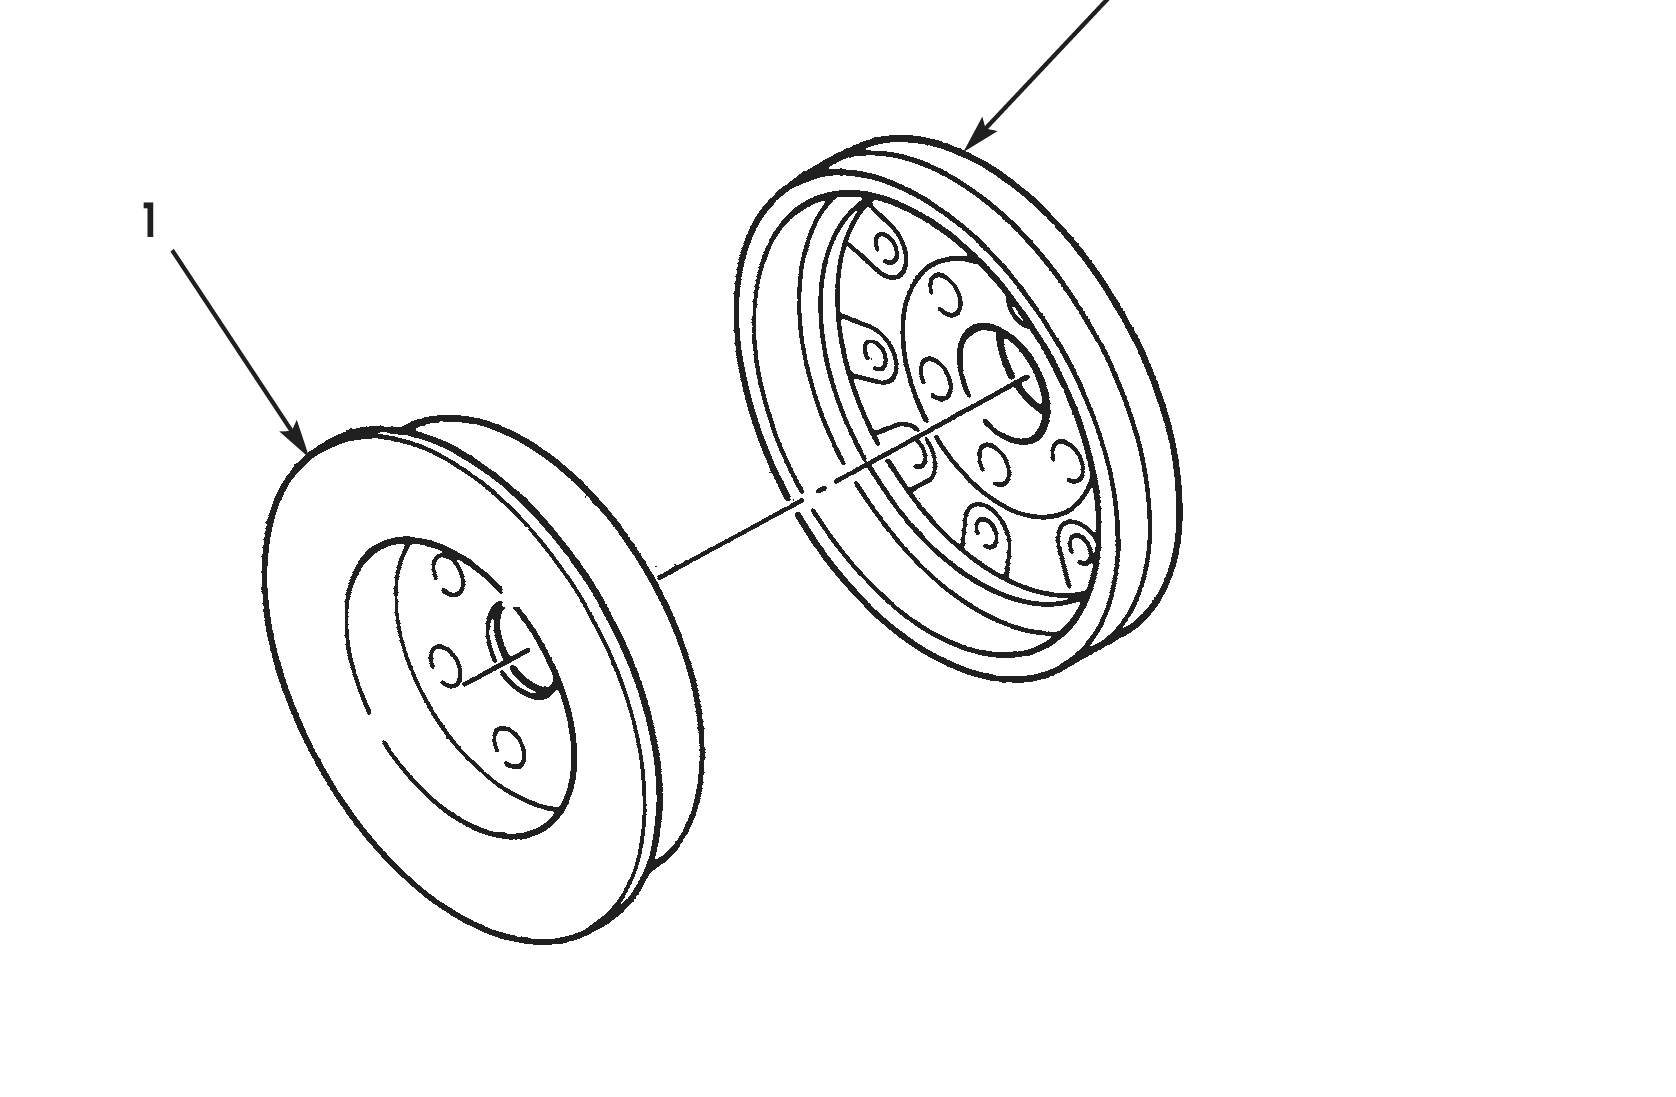
VIBRATION DAMPER AND CRANKSHAFT PULLEY CLEANING AND INSPECTION
TM 9-2815-225-34&P · Work Package 0015 00
INITIAL SETUP
Tools and Special Tools
 General mechanic’s tool kit: automotive
    (Item 1, WP 0061 00)
 Maintenance and repair shop equipment:
    automotive (Item 2, WP 0061 00)
 Automotive maintenance and repair
    supplemental set no. 2 (Item 3, WP 0061 00)

Materials/Parts
 Spotcheck developer (Item 10, WP 0060 00)
 290-grit emery cloth (Item 5, WP 0060 00)

Equipment Condition
 Vibration damper and crankshaft pulley
   removed from engine (WP 0010 00).
1. For general parts cleaning information, refer to CLEANING, WP 0051 00.
2. For general parts inspection information, refer to INSPECTION, WP 0051 00.
3. Inspect vibration damper (1) for cracks, breaks, or other damage.
4. Inspect crankshaft pulley (2) for cracks, breaks, or other damage.
5. Spray vibration damper (1) with spotcheck developer and place in preheated 200°F (93°C) oven for two hours. Remove from oven and inspect vibration damper (1) for leaks. Discard if leak is found.
6. Using 290-grit emery cloth, remove paint from four opposite corners of vibration damper (1) to measure outside diameter thickness.
7. Using micrometer or equivalent, measure vibration damper (1) outside diameter thickness at four corners. Maximum thickness is 0.125 in. (3.175 mm). Discard vibration damper (1) if any two measurements are more than 0.010 in. (0.254 mm).
8. For installation of vibration damper (1) and crankshaft pulley (2), refer to WP 0045 00.